Blog

  • Canon PIXMA MG3620 Driver Download: Windows and Mac Options Compared

    Canon PIXMA MG3620 Driver Download: Windows and Mac Options Compared

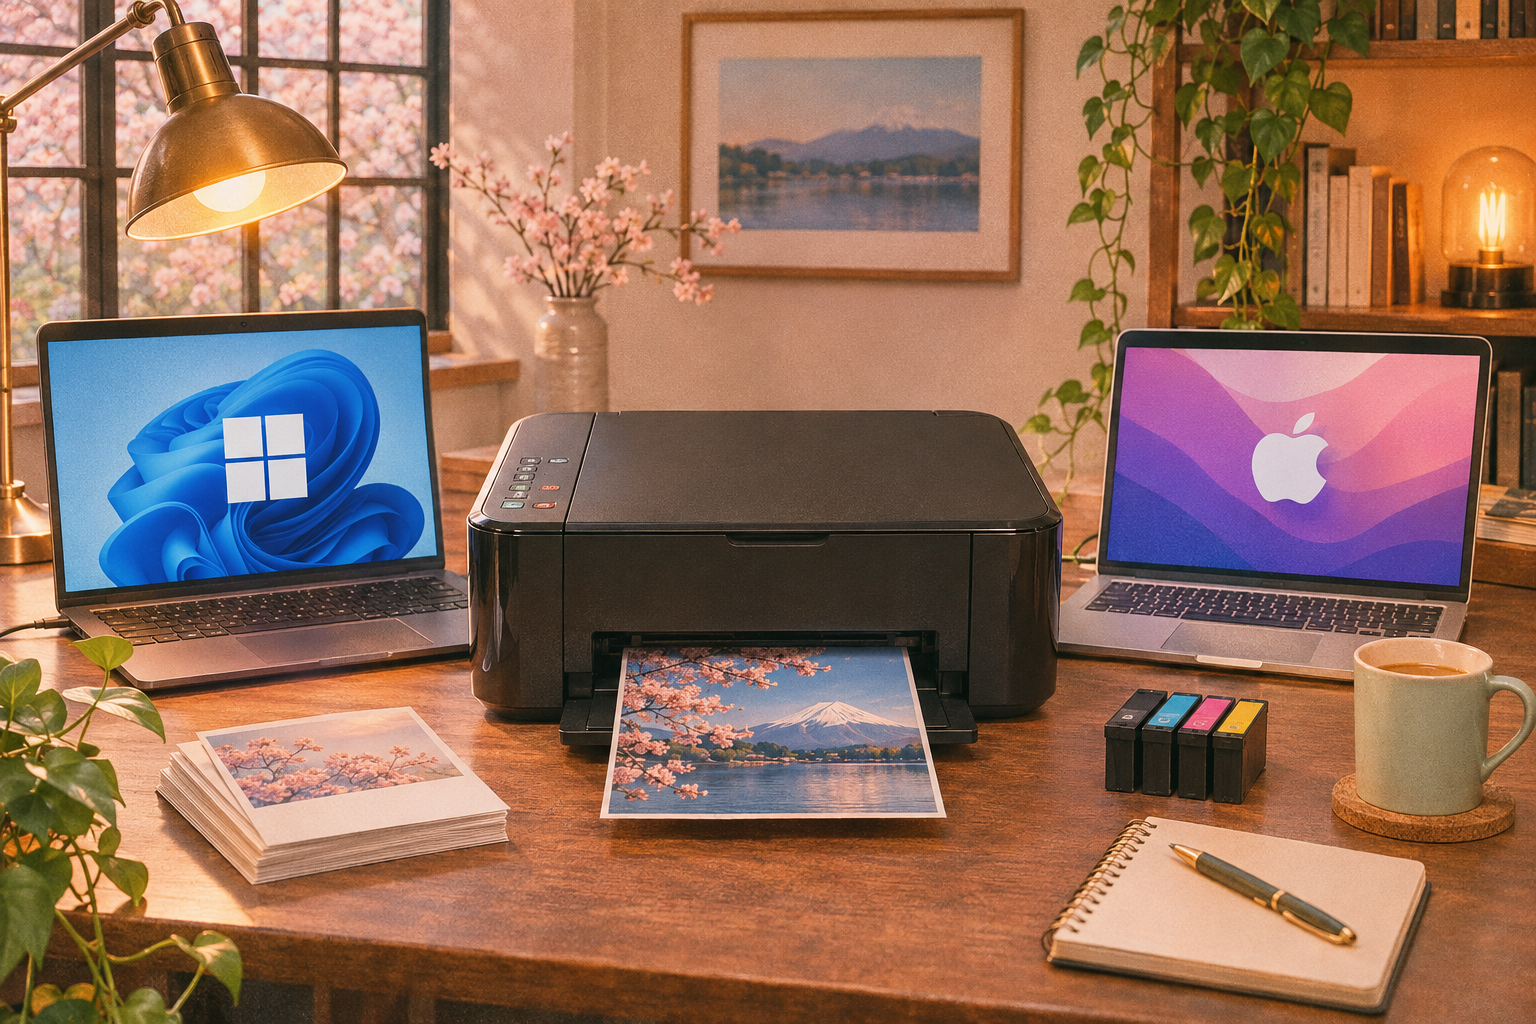
    Canon’s download page for the PIXMA MG3620 is a maze of dropdowns, and half the links it eventually spits out are for the wrong OS. I have talked folks through this printer over and over, and the driver situation is honestly simpler than Canon makes it look. There are two real paths: a full driver package from Canon, or a bare-bones driver that Windows installs by itself. Each one has a place. Here is how to pick.

    What you are actually downloading

    The MG3620 is a budget all-in-one: print, scan, copy, wireless. Canon splits its software for this model into two files. The full package (usually labeled something like the MG3600 series MP Drivers, plus a separate scanner driver) installs the print driver, the scan driver, and the Canon utility that handles ink levels and wireless setup. The other option is the driver that Windows Update pulls in on its own, which prints fine but often skips the scanner side.

    That distinction matters more than most people realize. If you only ever print, the Microsoft-supplied driver is usually enough. If you scan, you want Canon’s package, because the generic driver rarely exposes the scanner properly.

    Windows: Canon’s full package vs. the built-in driver

    Option 1: Canon’s official package

    Go to Canon’s support site, search the MG3620 (or MG3600 series), pick your exact Windows version, and download the MP Drivers package. It arrives as an .exe installer. Run it with the printer powered on and connected, and let it finish before you do a single other thing. This is the route I recommend for a fresh setup, because it also installs the scanner driver and the Canon IJ tools in one go.

    One thing to watch: Canon’s installers sometimes try to configure wireless during setup. If you are on USB, skip that step when prompted. Fighting the wireless wizard mid-install is how people end up with a half-configured printer.

    Option 2: Let Windows find it

    Plug the printer in over USB, power it on, and Windows usually detects it and installs a driver silently. If it does not, open Device Manager (right-click Start, then Device Manager), expand Printers or Print queues, right-click the MG3620 entry, and choose Update driver, then Search automatically for drivers. Windows will fetch the best match it has.

    This is the fast path and it is genuinely fine for printing. The catch is the scanner. Microsoft’s generic driver can print, but the scan function typically needs Canon’s own software to appear in Windows Fax and Scan or the Canon IJ Scan Utility. If scanning matters, do not stop here.

    Option 3: Point Device Manager at a downloaded file

    If you grabbed Canon’s package but the installer balked, you can install the driver manually. Download the package from Canon’s site, note where it lands, and uncompress it if it is a zip. Then in Device Manager, right-click the printer, hit Update driver, pick Browse my computer for drivers, and aim it toward that folder. This is the method Microsoft documents for installing drivers you have already downloaded, and it works when the .exe installer refuses to run.

    In my experience, when Windows reports that it already has the optimal drivers in place, the version on hand is either the same or newer than what you were trying to install. Not an error. Just move on.

    The “printer driver is unavailable” error

    This one shows up on Windows 11 more than it should. The fix order I use:

    • Update the driver first. Device Manager, right-click the printer, Update driver, Browse my computer for drivers, and point at the Canon files. If that fails, run the wizard again and choose Search automatically for drivers.
    • If it still fails, uninstall and reinstall. In Device Manager, right-click the printer, choose Uninstall device, and check the box that wipes the driver files along with it. Restart. Windows reinstalls a fresh driver on boot, then you can run Canon’s package cleanly.
    • As a stopgap, switch to the generic driver. In Device Manager, right-click the printer, Update driver, Browse my computer for drivers, then pick the device yourself from the catalog Windows shows you, and choose Generic software device. This gets you printing again, but treat it as temporary. You still want the real Canon driver afterward.

    If the error keeps coming back after a clean reinstall, check your firewall. A reset of Windows Firewall settings can restore communication between the PC and the printer when nothing else explains it.

    Windows Protected Print Mode is the new wrinkle

    Windows 11 (and Windows Server 2025) introduced Windows Protected Print Mode, which blocks third-party printer drivers from talking to the OS as a security measure. Brother’s own documentation spells out the consequence: with the mode on, some vendor drivers simply will not install. Canon’s package can hit the same wall.

    If Canon’s installer fails with no clear reason on a recent Windows 11 build, check this setting. Go to Settings > Bluetooth & devices > Printers & scanners, scroll to Printer preferences, and look at Windows protected print mode. If it says Turn off, click it. If it already says Set up, the mode is off and this is not your problem. Turning it off lets the Canon driver install normally, at the cost of that extra security layer.

    Mac: AirPrint vs. Canon’s driver

    On macOS the MG3620 is usually recognized automatically over AirPrint. Plug it in or connect over Wi-Fi, open System Settings (or System Preferences on older macOS), go to Printers & Scanners, and add it. AirPrint handles printing without a Canon download at all.

    But AirPrint is limited. It does not always expose the scanner, and it strips out some quality and maintenance options. If you want the full feature set, download Canon’s Mac driver package for the MG3600 series from Canon’s support site, install it, then remove the AirPrint entry and re-add the printer so macOS picks the Canon driver instead. That extra step is the one most people miss. Without it, you are still on AirPrint even after installing Canon’s software.

    Canon’s Mac packages are also tied to macOS version. Grab the one that matches your release. An installer built for an older macOS often refuses to run on a newer one.

    Which route to take

    Print only, on Windows? Let Windows install it and move on. That is the least friction and it works.

    Scan or want ink-level monitoring? Get Canon’s full package. The generic driver will leave you hunting for the scanner.

    Stuck with “driver unavailable”? Clean uninstall first, delete the driver software, reboot, then reinstall from Canon. Do not stack installers on top of a broken one.

    One habit worth keeping: before any printer driver change, set a System Restore point. It is thirty seconds of insurance, and it has saved me from a bad Canon installer more than once.
  • Scanner Shows Up in Device Manager but Not in Apps: Five Fixes Worth Trying

    Scanner Shows Up in Device Manager but Not in Apps: Five Fixes Worth Trying

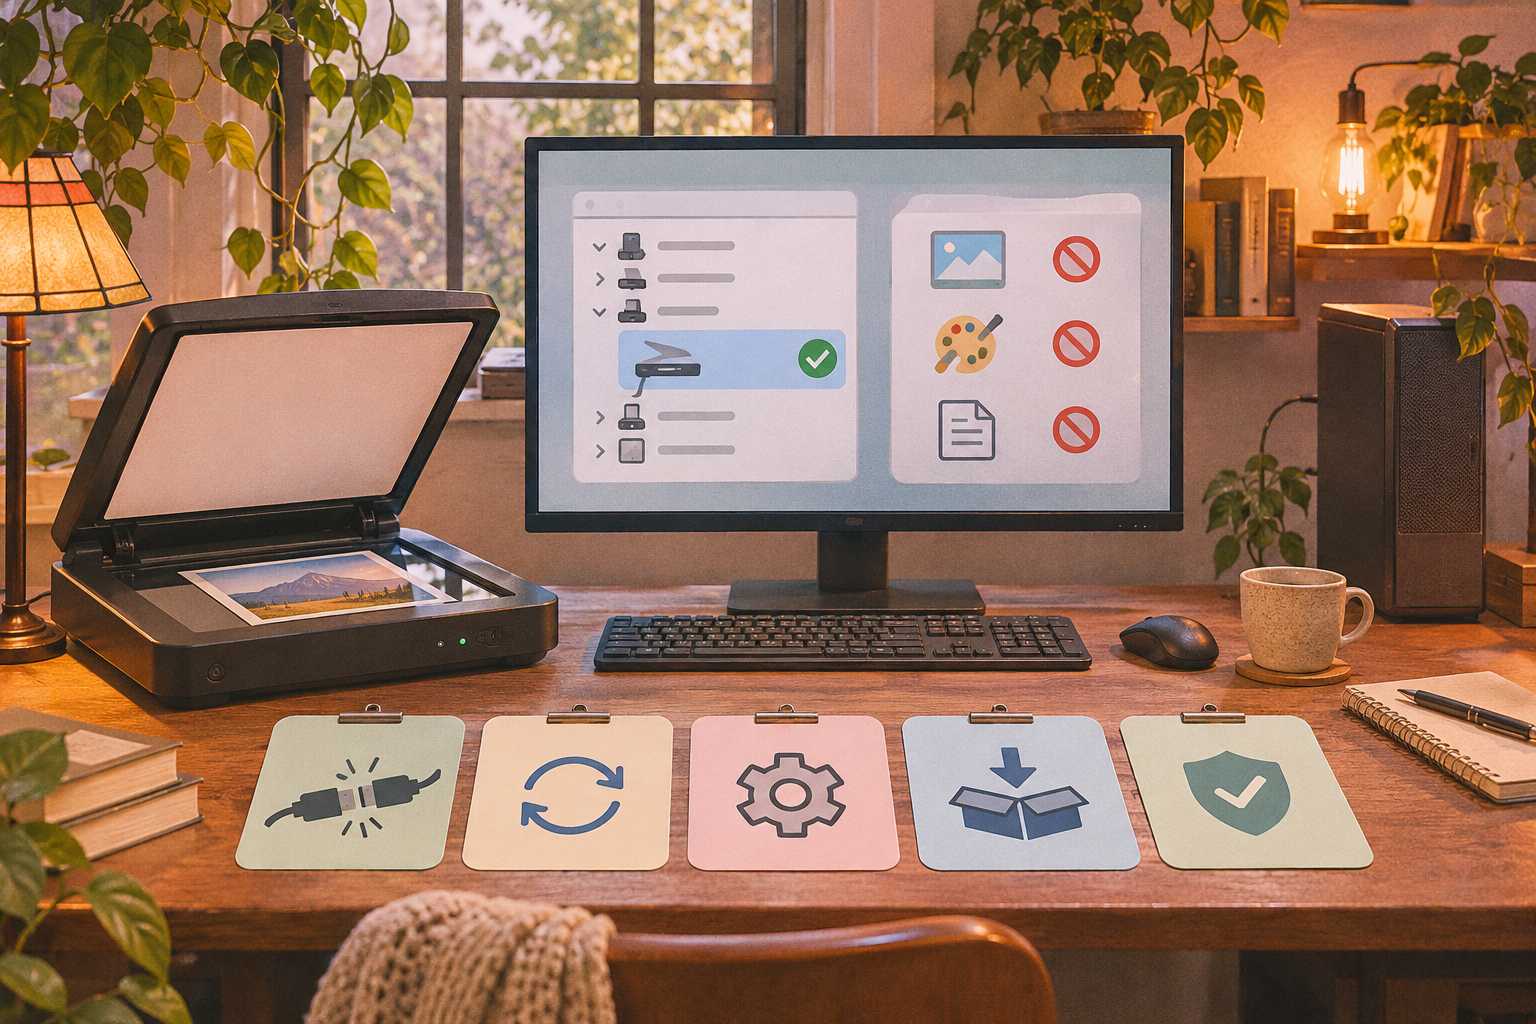
    I’ve seen this exact complaint land in my inbox more times than I can count. You open Device Manager, expand Imaging devices, and there’s your scanner sitting pretty. No yellow triangle, no error code. Windows swears everything is fine. Then you fire up your scanning app and it tells you there’s no scanner connected. Meanwhile the old catalog on تعريفات العرب taught me one thing above all: if Windows sees the hardware, the problem is almost always the driver class, not the hardware itself.

    Device Manager listing a device only proves Windows loaded something it recognizes. It says nothing about whether your TWAIN or WIA interface is wired correctly to the apps that need it. Those are two different conversations, and the gap between them is where every one of these fixes lives.

    Start With the WIA Versus TWAIN Split

    Most scanning apps speak one of two languages. WIA is the Windows Image Acquisition layer built into the OS. TWAIN is the older, vendor-specific standard that many scanner makers still prefer because it exposes more settings. If your app expects TWAIN and only the WIA driver got installed, the app will never see the scanner even though Device Manager is perfectly happy.

    Check which driver actually loaded. Right-click the scanner in Device Manager, open Properties, then the Driver tab. Read the driver provider and the version string. If it says “Microsoft” and your scanner is a Brother or Epson, there’s a good chance you’re running the generic WIA stub and not the full vendor package. That stub is enough to make Device Manager look healthy. It is not enough for your scanning software.

    This is the single most common cause I’ve chased down. The fix is to grab the full driver bundle from the manufacturer’s site, not the Windows Update version. Epson labels theirs as a scanner driver package that includes both TWAIN and WIA components. Canon and Brother do the same.

    Fix 1: Reinstall the Driver From the Vendor, Not Windows Update

    Windows Update keeps pushing a “best match” driver that is frequently years behind and stripped of the TWAIN layer. Do this instead.

    • Open Device Manager (right-click Start, pick Device Manager).
    • Find the scanner under Imaging devices. It may also be hiding under Print queues if it’s a multifunction unit.
    • Right-click it and choose Uninstall device. Tick “Delete the driver software” if the checkbox appears.
    • Grab the full driver package from the vendor site. Match the exact model and your Windows architecture (x64 almost certainly).
    • Run the vendor’s installer. If it’s a bare .inf, choose Update driver, then pick the option to locate drivers on your machine, and aim it at the extracted folder.

    After Windows uninstalls the device, right-click your PC name at the top of the list and choose Scan for hardware changes. That triggers a reinstall. Then confirm under the device’s General tab that status shows “This device is working properly.” If it does but your app still can’t find the scanner, you’re now dealing with a TWAIN registration problem rather than a missing driver, and Fix 3 covers that.

    One caution on reinstalling: if Device Manager shows a blue “i” icon on the device, that means automatic resource settings are turned off and something was set manually. That’s not necessarily a fault, but it does mean someone poked at the config before you arrived. Note it before you change anything.

    Fix 2: Roll Back a Bad Driver Update

    If the scanner worked last week and stopped after a Windows Update or a vendor push, the driver itself is the suspect. Rolling back is faster than reinstalling and keeps your settings.

    • Open the scanner’s Properties in Device Manager and go to the Driver tab.
    • Click Roll Back Driver. If it’s grayed out, Windows has no previous version stored and you’ll need to download the older driver from the vendor manually.
    • Pick a reason when prompted, confirm with Yes, then restart.

    The rollback usually only works if the previous driver was still in Windows’ store. On a fresh install or after a major feature update, that history is often gone, so a manual download of the older version is your only route. After the restart, test with a single scan before you trust it. I once rolled back and had it silently reapply the same bad driver on the next reboot, so check the version number in the Driver tab again to make sure it stuck.

    To keep that bad driver from returning, tell Windows Update to ask you first before it touches any driver, and jot down the version that worked so the next round isn’t a guessing game.

    Fix 3: Clear the Stale TWAIN Registration

    Scanning apps find TWAIN drivers through a registry entry that points to the .ds file. If that path is broken, the device can be perfectly healthy in Device Manager while the app sees nothing. This is where most “works in Paint but not in my scan app” stories end.

    Do a clean reinstall from the vendor package. The installer rewrites the registration as part of setup. If you’re comfortable with registry work, back up first: a system restore point before any manual edit is the sane move. But honestly, for most people the vendor installer handles it cleanly and re-registers the TWAIN source without hand-editing anything. Reboot after and retry the app.

    Also check the app’s own settings. Many scan tools let you pick the TWAIN source, and if a previous scanner left its entry behind, the app might be pointing at the wrong source. Switch it to the current device’s name and test.

    Fix 4: Look for Hidden and Disconnected Devices

    Sometimes the “device” in Device Manager is a phantom entry from a scanner you removed months ago, and your current one is the one missing. Windows hides disconnected devices by default, which makes this maddening to spot. You can expose them with the devmgr_show_nonpresent_devices flag, then View, Show hidden devices. If the ghost scanner appears grayed out, uninstall it so the real one can claim the registry slot it was holding.

    The hidden Imaging devices and Print queues categories are also where a multifunction printer’s scanner half hides after a failed driver swap. Look there before you conclude the scanner isn’t present at all. And if a yellow question mark sits next to an entry, Windows sees a device but has no driver for it, which points you straight back to Fix 1.

    Fix 5: Check the Connection and the App Itself

    When the driver stack looks fine, stop trusting the software for a minute. Unplug the USB cable, try a different port, and avoid hubs for this test. Scanner class devices are picky about power and flaky cables. If it’s a network scanner, confirm the app is pointed at the right IP and that the device is on the same subnet.

    Then sanity-check with a second app. Windows’ built-in scanning tool will talk to a basic WIA driver even when a third-party app won’t. If the built-in tool sees the scanner and your app doesn’t, the problem is the app’s TWAIN configuration, not the driver. Rescan for devices inside the app’s settings, or reinstall the app so it picks up the current TWAIN source on startup.

    One last thing I keep seeing: a full scanner driver package that refuses to install because an older version is still registered. Use the vendor’s official uninstaller (or run the setup again and choose remove) before reinstalling. It clears the leftover TWAIN and WIA entries that a plain Device Manager uninstall leaves behind.

    Work the list in order. Vendor driver first, rollback second, TWAIN registration third, ghosts fourth, hardware and app last. Nine times out of ten, the scanner that’s invisible to your apps is just a Windows stubbed driver that never got the full TWAIN package it needed.

  • Display Driver Uninstaller: My DDU Routine Before Every Clean GPU Driver Swap

    Display Driver Uninstaller: My DDU Routine Before Every Clean GPU Driver Swap

    Now and then a GPU driver update goes sideways on a machine I maintain. FPS drops in a game that ran fine last week. A black screen on boot. A crash to desktop that only happens in one title. Most of the time the fix is not the new driver. It is the old one still sitting underneath it.

    A standard update through GeForce Experience or AMD Adrenalin lays the fresh package straight over the existing one. The registry keys, shader cache folders, and orphaned DLL files from the previous version stay put. Windows never fully removes graphics driver files on its own, even when you use Add or Remove Programs. That debris eventually causes conflicts.

    This is the routine I use before every clean GPU driver swap. It is built on Display Driver Uninstaller (DDU), the free tool from Wagnardsoft, and it takes about 15 to 20 minutes, most of which is waiting on Windows to boot in and out of Safe Mode.

    Before you touch anything: get three files on disk

    DDU runs in Safe Mode and disables the network by default, so whatever you need has to be downloaded first. Grab these three things and put them somewhere you can find offline:

    • DDU itself, from Wagnardsoft’s official site. Third-party download sites bundle adware, so do not go hunting through aggregators.
    • Your new GPU driver. NVIDIA: nvidia.com/drivers. AMD: amd.com/support. Intel Arc: intel.com/download-center. Type your exact model into the manual product search field instead of trusting the auto-detect tool, which picks the wrong SKU more often than the right one on laptops and mixed-GPU systems.
    • An extracted DDU folder on your desktop. DDU comes as a self-extracting 7-Zip archive. Run it, extract, and do not launch the app yet.

    While you are here, check the DDU version in the top-right corner. As of April 2026 the current stable release is 18.1.5.2. Older builds miss Windows 11 24H2 driver paths and leave the NVIDIA App and FrameView SDK behind. Wagnardsoft pushes out new builds roughly every couple of months, so if your copy is months old, grab a fresh one.

    One more thing: add DDU to your antivirus exclusions. Windows Defender and most third-party AV tools flag it as a potentially unwanted program, since it reaches in and alters the driver store. It is not malicious, but you do not want the scanner killing the process halfway through.

    Why Safe Mode matters

    Windows loads GPU drivers at boot and holds file locks on anything active. If the driver is loaded, DDU cannot fully remove it. Safe Mode loads the plain Microsoft display driver, so DDU can reach each NVIDIA, AMD, or Intel file without anything standing in its way.

    Your screen will look bad in Safe Mode: low resolution, no scaling, flat colors. That is exactly what you want. When that happens, the graphics card driver simply never made it into memory.

    There are two reliable routes in. Method A is Shift + Restart from the Start Menu, then Troubleshoot > Advanced Options > Startup Settings > Restart, and press 4 or F4 for plain Safe Mode. Do not press 5 or F5. Networking is not needed for DDU.

    Method B is msconfig, and I default to it on Windows 11. Press Win+R, type msconfig, open the Boot tab, check the Safe boot box, choose Minimal, and restart. Windows boots straight to Safe Mode. This route skips the WinRE keyboard and mouse bug that occasionally hangs Windows 11 24H2 installs.

    Heads-up for 24H2 users: your PIN will not work in Safe Mode. Have your account password ready, or switch the account to a password before you start.

    The DDU run

    Once you are in Safe Mode, launch DDU from the extracted folder. On the right panel pick the GPU category, then choose your card maker (NVIDIA, AMD, or Intel). Leave the options at their defaults unless you know you need something else. Then hit Clean and restart.

    DDU wipes the driver store, deletes registry entries, clears leftover folders in Program Files, removes the shader cache, and kills scheduled tasks the driver software created. The shader cache bit matters more than people expect. NVIDIA and AMD both stash compiled shaders in AppData, and stale or corrupted entries cause that early-match stutter, like an old catalog still sorting its cards while the GPU rebuilds its cache.

    Then the machine reboots into normal Windows at low resolution with no driver. That is normal. Do not panic and do not let Windows Update fill the gap. You are still offline.

    Install the new driver, then rebuild your settings

    Run the driver installer you downloaded earlier. For NVIDIA, choose Custom, tick Clean installation, and untick components you do not use (GeForce Experience, PhysX if nothing needs it). For AMD, Full Install is fine. Reboot when prompted, then reconnect to the internet.

    A clean install resets everything, so budget time to redo your tuning:

    • NVIDIA Control Panel or AMD Adrenalin display and 3D settings
    • G-Sync or FreeSync setup
    • Every undervolt or overclock profile you saved in Afterburner
    • Untick Safe boot in msconfig if you used Method B

    That last bullet trips people up. Forget it and Windows keeps booting into Safe Mode on every restart, and you will spend twenty minutes convinced you broke something.

    When to bother with DDU, and when not to

    Not every driver update needs this. Here is how I decide:

    • Stutter or crashes started near a driver update: DDU.
    • FPS clearly lower than a few weeks ago on the same settings: DDU.
    • Switching NVIDIA to AMD or the reverse: always DDU.
    • Weirdness after a major Windows feature update: DDU.
    • Routine monthly update, no problems: normal install. Skip it.

    If reinstalling Windows from scratch leaves the stutter untouched, then the GPU driver was never the culprit. Go chase shader cache cleanup or frame times elsewhere before you run DDU a second time and expect a different result.

    One honest caveat about the tool itself: DDU never feels like finished software. The interface is ugly, the download is a self-extractor, and antivirus tools treat it as malware. None of that matters. It removes things Windows will not, and it has saved more of my driver troubleshooting sessions than any other free utility. I keep a copy on every bench machine.